
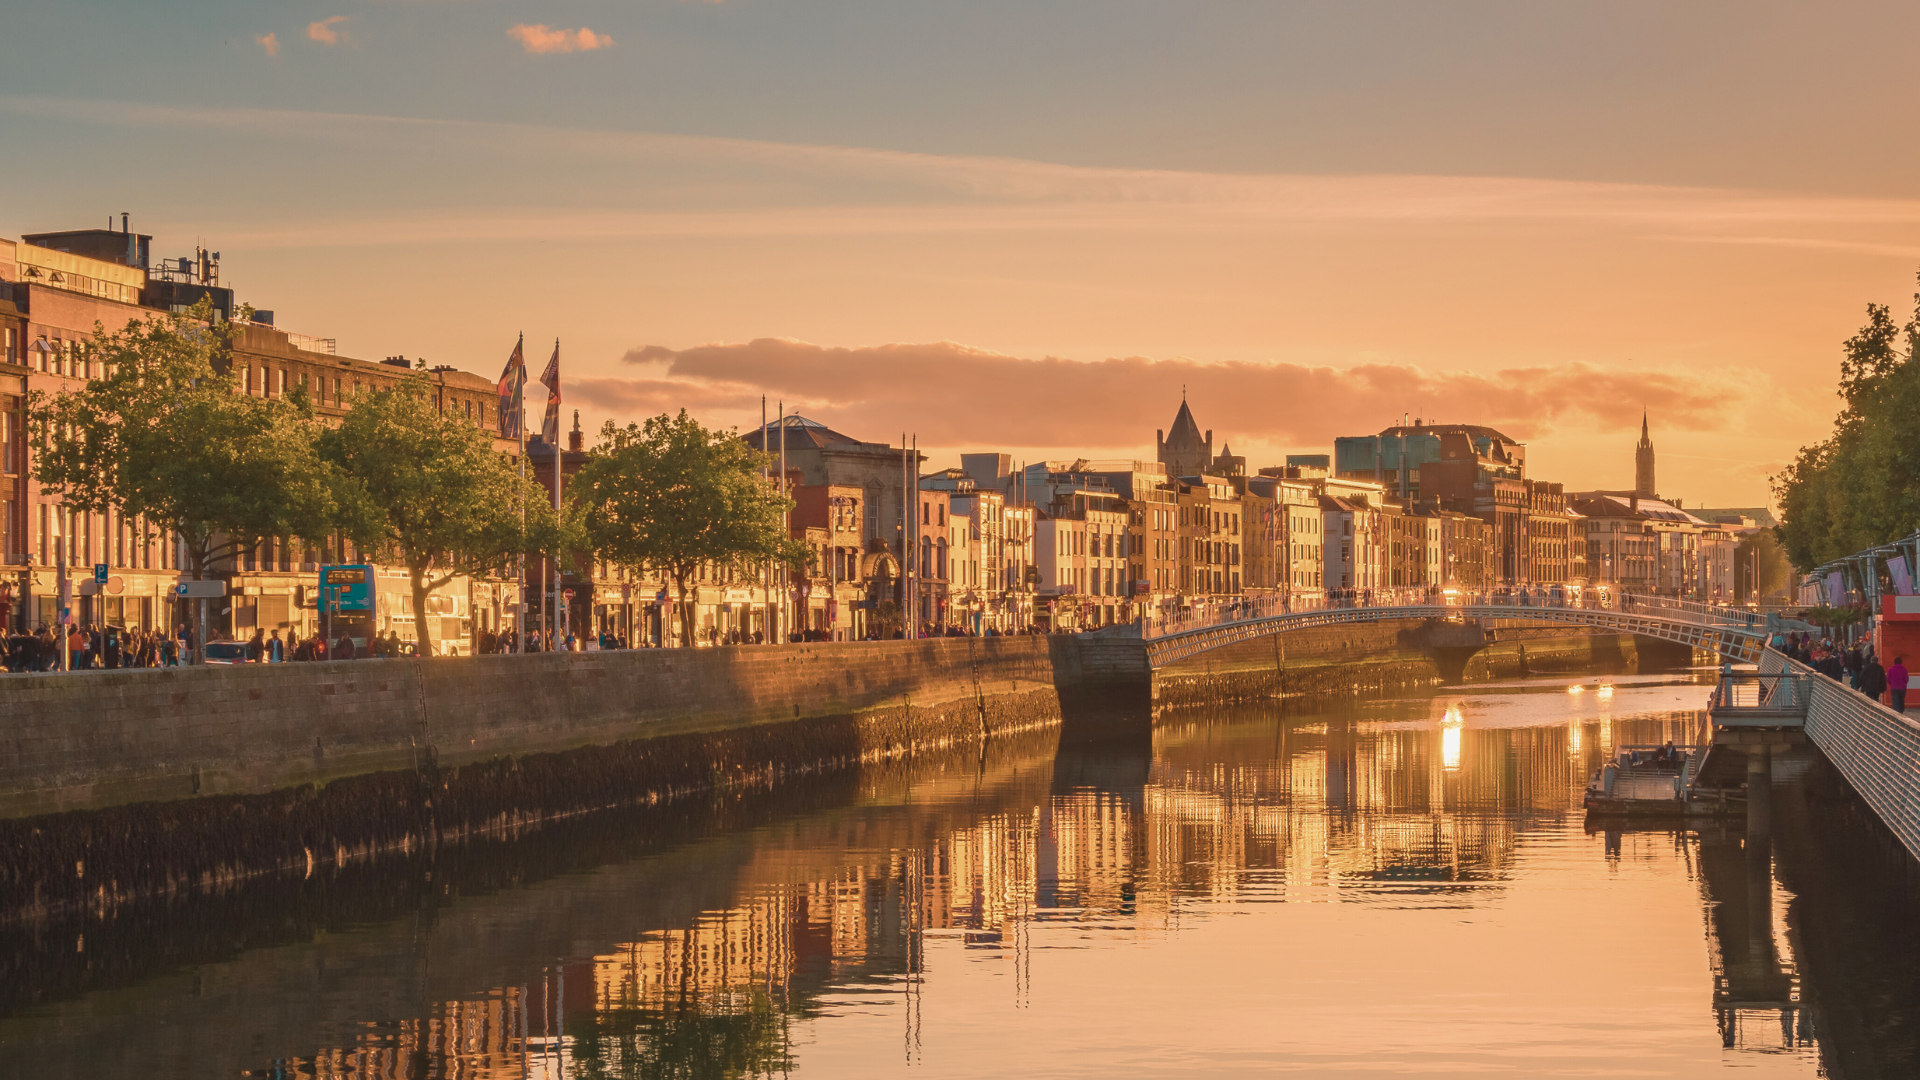
Golden hour is a prized time for photographers, offering soft, warm light that transforms ordinary scenes into stunning visuals. For beginners, mastering golden hour photography involves understanding the best timing and techniques to capture remarkable images. The quality of light during this period, shortly after sunrise and before sunset, enhances colours and textures, making it ideal for various subjects.
Utilising golden hour can greatly elevate the standard of photographs. Beginners should focus on composition, experiment with different angles, and play with shadows to create depth in their images. By taking advantage of this fleeting opportunity, they can produce photographs that not only capture the moment but also tell a compelling story through light.
Learning to embrace and work with golden hour conditions opens up a world of creative possibilities. With some practice and a few key tips, anyone can turn their snapshots into breathtaking photographs during this magical time of day.
Understanding Golden Hour Lighting
Golden hour is a critical time for photographers, characterised by warm, soft light that enhances images. This section will explain the concept of golden hour, how it differs from blue hour, and why this lighting is favourable for photography.
What Is the Golden Hour?
The golden hour refers to the time shortly after sunrise and before sunset when the sun is low on the horizon. During this period, the angle of sunlight creates a warm glow that adds richness to photographs.
This light is softer than during midday, giving rise to fewer harsh shadows and providing more even illumination. Photographers often refer to this as “magic hour” for its ability to transform ordinary scenes into captivating images.
Typically, golden hour lasts for about an hour, but its duration can vary based on geographic location and time of year.
Golden Hour Versus Blue Hour
While golden hour focuses on warm tones, blue hour occurs immediately after sunset or before sunrise, where the sun is below the horizon. This time is characterised by cooler, bluish light, creating a different atmosphere.
Photographers often favour golden hour for its flattering skin tones and vibrant colours. In contrast, blue hour offers a moody, tranquil aesthetic that can also yield striking images, especially when capturing cityscapes.
Both times provide unique lighting conditions, making it essential for photographers to understand their differences to effectively utilise each for specific outcomes.
Why Golden Light Improves Photography
Golden light enhances the aesthetic quality of photographs by introducing warmth and depth. This light can elevate landscapes, portraits, and still-life compositions.
The warm colours of golden hour light create a pleasant ambience, resulting in images that feel inviting. Additionally, this lighting is particularly effective for highlighting textures and details, making subjects stand out.
Shadows during this time are less severe, producing a more flattering look for portraits. Understanding how to use golden light can drastically improve a photographer’s ability to create compelling imagery.
Essential Camera Settings for Golden Hour
When capturing golden hour, understanding camera settings is crucial for achieving optimal results. Adjusting exposure, aperture, ISO, and shutter speed will enhance the quality of the images significantly.
Optimising Exposure and Dynamic Range
During golden hour, lighting can change rapidly, necessitating careful exposure management. Photographers should use exposure compensation to prevent highlights from blowing out and shadows from becoming too dark. Setting the camera to aperture priority mode allows for greater control over depth of field while the camera automatically adjusts shutter speed.
Using bracketing can also be beneficial, allowing the photographer to capture multiple exposures of the same scene. This technique aids in preserving detail in both highlights and shadows, which is essential when dealing with the high dynamic range often present at this time of day. Shooting in RAW format retains maximum detail and provides more flexibility during post-processing.
Choosing the Right Aperture and Depth of Field
Aperture plays a significant role in determining the depth of the field, which affects the focus and clarity of the image. For portraits during golden hour, a wide aperture (like f/2.8 to f/4) creates a shallow depth of field, beautifully blurring backgrounds while emphasising the subject.
In landscape photography, a narrower aperture (such as f/8 to f/16) is more suitable to ensure greater depth of field, keeping both foreground and background in focus. The choice of aperture should align with the creative vision, as it influences not only sharpness but also the amount of light entering the camera, affecting exposure.
Adjusting ISO and Shutter Speed
ISO settings need to be adjusted based on lighting conditions. During golden hour, the environment often produces warmer, softer light, allowing for lower ISO settings, typically between 100 and 400. Lower ISO reduces noise, enhancing image quality.
Shutter speed is equally important and must be balanced with aperture and ISO. In low light, slower shutter speeds may be necessary, which could lead to motion blur if not stabilised. Using image stabilisation can help mitigate this effect. For handheld shots, it’s advisable to keep shutter speeds at least double the focal length of the lens to ensure sharpness.
Composing Standout Golden Hour Images
To create striking golden hour photographs, understanding key composition techniques, light management, and camera settings is essential. This section highlights methods to achieve captivating images during this magical time of day.
Mastering Composition Techniques
Effective composition plays a crucial role in photography. The rule of thirds is an effective guide; positioning subjects along these lines can enhance visual interest.
Photographers can also experiment with leading lines, which draw the viewer’s eye towards the main subject. Using foreground elements can provide depth, making the image feel more three-dimensional.
A wide-angle lens is ideal for landscape photography during golden hour. This lens captures expansive scenes while emphasising the beautiful sky. Additionally, including interesting foreground elements can create a sense of scale and draw attention to the scene.
Utilising Backlighting and Lens Flare Creatively
Backlighting can create ethereal images distinctive to golden hour. Positioning the subject in front of the sun can result in a halo effect, adding intrigue.
Lens flare, often seen as a nuisance, can also be creatively harnessed. It adds a dreamy quality to the image, rendering it unique.
To achieve this effect, slightly adjust the angle of the camera. The soft light highlights textures and colours, transforming ordinary scenes into extraordinary ones.
Care should be taken to control the intensity of the flare so it enhances rather than overwhelms the subject.
Managing White Balance for Natural Colours
Achieving accurate colours in photographs hinges on managing white balance. During golden hour, the warm tones can skew colour accuracy if not adjusted properly.
Photographers should consider using manual white balance settings to maintain the richness of colours.
Experimenting with different presets, such as ‘Daylight’ or ‘Cloudy’, can produce varied results. This can bring out the warm hues typical of golden hour while preserving shadow details.
Using RAW format is beneficial as it allows for greater flexibility in post-processing, ensuring that colours remain true to the scene.
Minimising Camera Shake for Clarity
Camera shake can ruin stunning golden hour images. Therefore, stability is paramount for capturing sharp photos.
Using a tripod is the simplest way to achieve stability, especially with longer exposures that may be necessary in lower light. Alternatively, photographers can brace themselves against a wall or use a sturdy surface to rest the camera.
Adjusting the shutter speed can also help. A faster shutter speed minimises motion blur but might require higher ISO settings if light is limited. Photographers should be mindful of their techniques to maintain clarity in images.
Planning, Shooting, and Editing for Impactful Results
Effective photography during golden hour requires careful planning, precise shooting, and thoughtful editing. Each step plays a crucial role in producing compelling images that capture the unique quality of light during this time.
Using Apps to Track the Golden Hour
Apps such as PhotoPills and The Photographer’s Ephemeris offer invaluable assistance for photographers looking to maximise their golden hour experience. These tools provide detailed information about the sun’s position, including rise and set times, allowing for optimal planning of shoots.
Photographers can check weather conditions, find locations where the sun will perfectly illuminate their subject, and assess the landscape for potential compositions. By leveraging these apps, they can ensure they are at the right place at the right time, enhancing their capturing process.
Best Practices for Landscape Photography
When photographing landscapes, it’s essential to consider composition, lighting, and foreground interest. The golden hour creates soft, warm light that enhances textures and colours. Photographers should aim to include interesting elements in the foreground to create depth.
Utilising techniques like the rule of thirds can help balance the shot. They should also explore different angles and perspectives to find the most impactful composition. Paying attention to leading lines can guide the viewer’s eye through the photograph, creating a more engaging image.
Essential Post-Processing Techniques
Post-processing is a critical step in enhancing golden hour photos. Simple adjustments in programmes like Lightroom can make a significant difference. Photographers should focus on three key aspects: exposure, contrast, and colour balance.
During editing, increasing contrast can help strengthen the image, making the subject pop against the softer background. Adjusting colour temperature can amplify the warm tones characteristic of golden hour light. Finally, subtle sharpening can enhance details without creating noise, ensuring a polished final image.